Showing posts with label Make-up Brushes. Show all posts

Monday, 15 October 2012

Brush Cleaning #3: The Deep Cleanse

And now, for the final installment of my brush cleaning series, I give you the big guns...the DEEP CLEANSE! If you're interested in parts one and two then feel free to check them out HERE and HERE.

It's a fact of a makeup addict's life that all that slap creates a bit of a mess as far as brushes are concerned, and it's important that we treat those brushes well - they're the tools of our trade and must be looked after! So, unless you apply your makeup with a trowel (in which case I suggest you use surgical spirit to clean it), then you've got to choose a cleanser that will suit your brushes rather than damage them.  A quick google or YouTube search will bring up a million and one different products which people wear are the best, and I have no doubt that maybe some are better than my method, but I'm just going to share with you my choice of product and method of giving my brushes a little tlc.

Johnson's baby shampoo is my preferred cleansing agent; it's gentle but effective and it doesn't have too much extra fluff and stuff (by fluff and stuff I obviously mean nasty chemicals and exotic scents!) it's also cheap which is a massive bonus in my eyes! 


Before you begin 'the big cleanse' you might want to prepare the area that you're going to use to dry your brushes.  Ideally you want to allocate the edge of a work top/dresser/table and place a towel along the edge, this way you can leave your brushes to dry really easily without waving around wet brushes as you fumble about one handedly trying to get your towel and then lay it out (I speak from experience or so I've been told)

Next up, gather all your dirty brushes, I keep mine in an old mug (it was a sad day when the mammoth crack appeared but I knew it's life wasn't over yet!) and take them to your sink of choice along with the Johnson's baby shampoo.

Then for the fun part! Rinse your brush under warm water, not hot but warm - it's important because hot water could melt the glue in the ferrule (the metal bit between the handle and the bristles) and this would cause your brush hairs to shed or your whole brush to fall apart! Another important thing to note, is that you need to keep the brush angled down at all times, again this is to prevent water from going into the ferrule and ruining your brush.

Once your brush is nicely wet take a pump of the shampoo (vary the amount based on what size brush you have and which products it has been used with - eyeshadow brush with light eyeshadow will require hardly any whereas kabuki style foundation brush that's been used for a week or so will use quite a lot of product) onto the palm of your spare hand (the one that doesn't have a brush in it!).  
Then gently start to swirl your brush in the shampoo so that it creates a nice foamy lather, the lather should be the colour of whatever product you're washing off the brush - it's ever so satisfying! You can rinse and repeat as many times as it takes before the lather is pure white, and believe me, some brushes will have you there for a while but don't give up because you'll get there in the end!

It's very important to rinse all the shampoo from your brush once it's squeaky clean, so I rinse and then swirl it on my hand again to see if any soap bubbles appear and keep rinsing until when swirled nothing happens.  With larger brushes, don't be afraid to pull the excess water from the brush, so run you hand in a clenched motion down the brush and over the hairs to get off any excess water, and just keep rinsing until the water is clear.  

Then give your brushes a final squeeze to get the bulk of the water out.


You're now ready to lay all your brushes out.  It's important to give them room, they shouldn't be touching because this could effect the shape that they dry into and nobody wants a deformed brush if they can help it.  This is also the reason why it's so important to leave the brushes overhanging the edge of a table, this way they don't end up with one flat side.  


The drying time will depend on the size of the brush, the density of the hairs, and the material the hairs are made from.  A small synthetic brush like the Real Techniques deluxe crease brush will only take about half an hour to dry, whereas the larger ones like The Body Shop face and body brush and the bdellium 957 will probably take a day or so.

Wait until they're all completely dry before putting them back in their usual storage or using them, and then relax and enjoy how wonderfully soft they are (it's ok, I wont judge you for giving your face a bit of a stroke with them, we've all been there!!)

I hope this was helpful, and I'm sorry it was such a long post!! 

xxx

Thursday, 4 October 2012

Brush Cleaning #2: Spot Cleaning

In this post I talked about my choices of brush cleanser, and how and why I have chosen to decant them.  This post is on spot cleaning my brushes.  Because it doesn't require the use of water it makes it a much quicker method, so it's great if you need to use that brush again quickly (between colours or clients say) and it's also great for keeping on top of all the dirt and bacteria build up of brushes that will still need a deep cleanse (foundation brushes for example).  If you want to know more about the MAC brush cleanser that I use (price, why I decant it etc) do go and check my first brush cleaning post here.

So, first of all I need all my dirty brushes in one place! I seem to have developed a pretty large brush collection over the past couple of years (oops) so I don't store them all together, instead I get a selection that will do the job and put them all in this old (and cracked) Cath Kidston mug which lives in the bathroom which is wear I do my makeup.  Then, once they're in need of a bit of a clean (this tends to be once a week) I bring them all into my room to get down to business!

Because this is spot cleaning if there is one eye brush I'm particularly desperate to use but it's already covered in eye shadow I can get it back to working condition in a matter of minutes (particularly synthetic brushes) which is perfect! 

A selection of brushes all ready for a good old clean!

There are many different ways to spot clean your brushes, and if you'd like me to let you know some of the alternative methods please do let me know and I'll either explain to you personally or write another post.  To save this from being uber long I'm just going to focus on one technique for now.

I use an old towel to clean my brushes on, but you could use kitchen roll (I'd advice against toilet roll as it just isn't strong enough), couch roll if you have it (beauticians etc), an old flannel or muslin cloth, an old t-shirt or a bit of old sheet - you get the drift; it can be anything!  I simply place this on my work surface of choice and get ready for cleaning.


Place your brush on the towel or hold it slightly above, and then spray your cleanser onto the bristles.  You can turn the brush over if it is particularly dirty to ensure you've coated both sides.


Then, simple swirl your brush around on the towel.  Be very gentle with this, you don't want to end up scrubbing away at it, just use soft circular motions or gently sweep it one way and then the other in a line.

You can repeat the process if you need to, simply apply more product and gently wipe it over a clean section of the towel.  At the end of the process you should be able to wipe it over without leaving any makeup residue behind.


Once they're all squeaky clean you can either simply lay them flat on the towel, or place the towel near the edge of the surface and place it so the bristles are sticking just over, this prevents the brush from becoming misshapen as it dries.

Smaller brushes tend to dry in a matter of minutes using this method because they do not become too saturated in cleaning product, and the alcohol evaporates quickly, but do make sure your brushes are completely dry before you either put them back in their home (mug etc) or use them again. 

So there you have it, my spot cleaning process.  If you have any questions feel free to ask.
Next up - the deep clean!!


Happy Brush Cleaning!!
xxx


Tuesday, 25 September 2012

Brush Cleaning #1 - Making life easy for yourself


Cleaning your makeup brushes is essential if you want to look after your brushes, care for your skin, and get the best from your makeup.  That said, it's a bit of a chore and although I find it therapeutic and love the feeling of looking at all your clean brushes drying, it's still sometimes just something I'd rather not have to do!

But, if we've got to do it, and honestly, we really do, then I like to make it as easy as possible.  

Monday, 13 August 2012

Review: Bdellium Tools Smoky Eyes Brush Set


As promised, here is my review of the Bdellium Tools "Smoky Eyes" 5pc. Brush Set.  I've got the Mineral Set ad the Foundation one too but I thought one set at a time was the best way to do these reviews.


I'm an idiot and didn't notice that an extra brush had slipped in - there are only 5 in the set  just to clarify.

Friday, 29 June 2012

Panic Buying: Guilty!


Some people panic buy petrol, some food, but for me it's makeup brushes! Some people might see this as tragic, but I am also sure that I am not alone, there must be more people out there who can empathise with me?! 

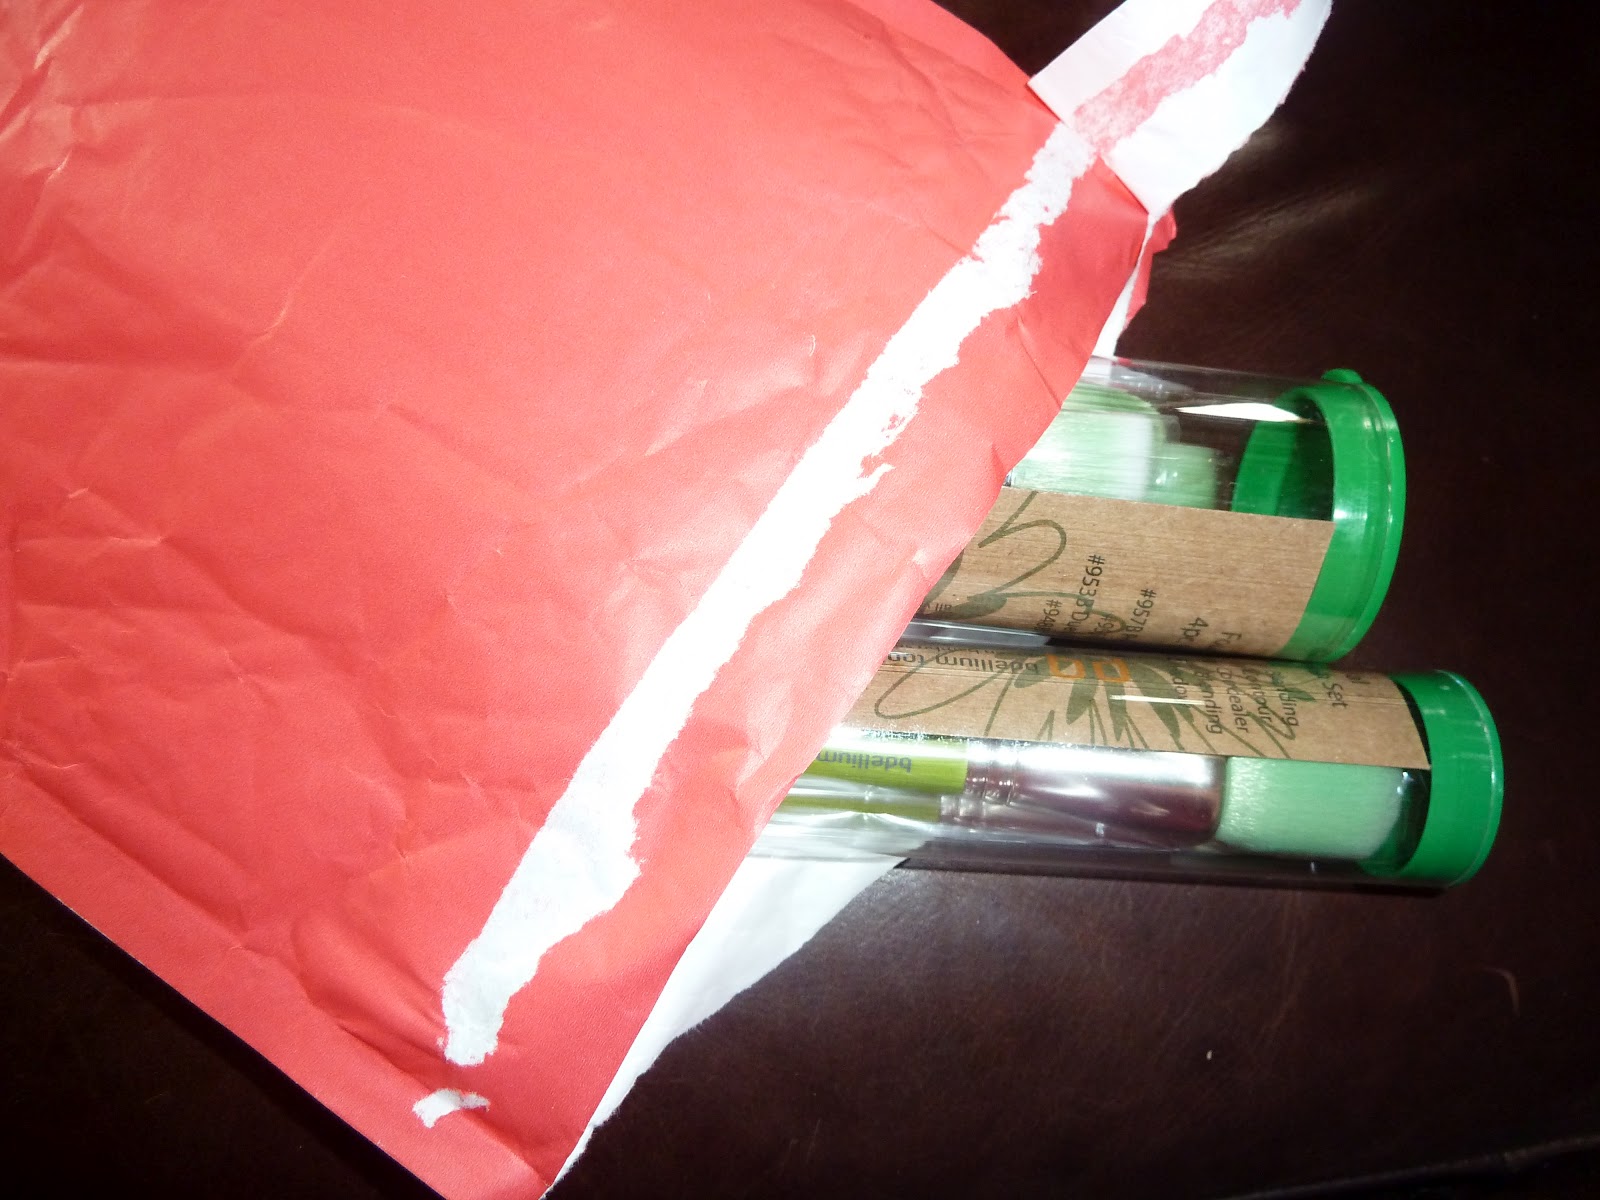
This purchase is from Shop Louella, which has been created by the wonderful Louise from Sprinkle of Glitter and Zoe from Zoella, in their shop they are aiming to only sell the things that they love - a selection of their favourites if you will.  Currently they are only stocking makeup brushes, bdellium tools green bamboo brushes to be precise but I do believe they have plans to eventually stock more wonderful cosmetics (dear wallet, I apologise in advance).  I purchased the 5 piece 'Smokey Eye' set when they first launched the shop, but I thought I'd be good and wait before purchasing any more as to be honest I don't NEED them.  This all changed however, when Louise mentioned that they were running dangerously low on stock and weren't going to be getting more in for a while - cue me literally scrambling around, checking my bank balance and deciding I couldn't afford them placing an order - I kid you not, I was like a woman possessed (how many times have you heard me say this in relation to makeup related purchases? I must get a grip).  For once though, I have not suffered from shoppers remorse, I just felt very satisfied and excited to see that they had arrived in their gorgeous bright coral envelope.  And if, for any reason, the guilt comes to haunt me, I can easily swipe it away because bdellium tools are basically impossible to get hold of in the UK, so it isn't as though I could get them any old time, this could well have been a once in a lifetime opportunity and you just can't pass those up!!

Oh and the sets I purchased are: The Green Bamboo 4 Piece Foundation Kit which consists of a Precision Kabuki, a Finishing brush, a Duo Fiber Foundation brush and a Foundation brush and the Green Bamboo 5 Piece Mineral Brush Kit which is made up of a Powder Blending brush, a Slanted Contour brush, a Precision Concealer brush, a Large Tapered Blending brush, and a Large Shadow brush.
Each set costs £33.95 and postage and packaging was £4.50 I think (which isn't cheap, but they did come within two days).

I look forward to giving these a try, and I will report back with a review once I have used them, and seen how they fare after a wash! 


Please tell me I'm not the only one to panic buy "nonessentials"?

x

Thursday, 21 June 2012

Stars N' Rockets


The weather has been so foul recently, and all my friends are away, so I decided to spend my time practicing dramatic makeup - because who doesn't need this type of look to eat dinner and watch tv with their parents!?!

Tuesday, 22 May 2012

Oops I went to MAC.

After watching Amarixe do a tutorial with MAC Stars & Rockets, which you can see here, I knew I needed to get my hands on this gorgeous shade. It is just such a gorgeous shimmery pinky mauve with a slightly bluey silver sheen, and it is just so pretty.  I've included photos in natural sunlight and also with the flash on so you can see how the colour translates.


It most certainly lives up to its name! 


This particular trip to MAC also saw my first dip into the Pro Palette ocean, and boy oh boy was that probably a mistake because now all I want to do is fill it! 


Amerixe uses Cornflower pigment to add depth to Stars & Rockets, but I didn't fancy getting a pigment so I went for Freshwater instead, which I think will compliment it fantastically, and is just a beautiful stand alone colour anyway! 

The pigmentation of these eyeshadows really is incredible, this is the colour pay-off with just one sweep of my finger so you can only imagine how amazing it could look if you really packed it on to the lid. 

I wanted this in the pan so I could add it to my palette, but they didn't have it in stock so I had to go for it like this.  I should have waited but I just couldn't help myself! 


In natural daylight it looks so fresh! 

The next purchase was from the Reel Sexy collection, and it is the The Dynamic Duo 3.  On the left we have Pearled Earth which is a gorgeous shimmery grey which MAC describe as a 'dirty-toned purple', which has a hint of warmth which I really like.  I have also found it really morphs into different colours in certain lights which I think helps to make it a really wearable colour.  On the right is a limited edition colour, Teal, this is a matte colour which means it is the perfect partner to the frosty Pearled Earth. When I bought this duo the lovely makeup artist at MAC used Pearled Earth all over my lid and then ran a shot of Teal along my lower lash line, and it looked gorgeous and was so simple to do.  I can't wait to try them out properly! 


Swatcharoos in natural sunlight


I then picked up something that is essential for me, I have very unruly brows and thought it was about time I brought them in to line (literally) once and for all! I got the Clear Brow Set because I use a pencil or powder to add definition to my brows anyway so I don't need a coloured gel. 


And finally I picked up a short handled 129 Blush Brush, which I've been wanting for ages.  I went for the short handle mainly because it came in a re-sealable pouch that would make it ideal for traveling but in all honesty I wish I'd gone for the regular length handle because I never take brushes out and about with me and if I am going somewhere I take my brush roll with me anyway...I'm a moron I know! 


I'm sorry this is just a photo heavy post but I hope you can enjoy the visuals as much as I'll enjoy using the products. 

I'll do full reviews and show you how I'm wearing the colours and how I'm getting on with the products once I've given them a fair try! 


Have you got anything from the Reel Sexy collection? What is your favourite eyeshadow duo? 


xxx

Saturday, 5 May 2012

I ruddy well won something!!


I'm not what one would call one of life's winners, don't get me wrong, I've achieved and I've achieved highly, but I haven't won - sports day, definitely not my thing, raffle prizes also allude me, as do lucky dips and competitions. But my luck has changed, and okay I have won the item that holds the least monetary value of anything I've ever entered but I don't care, I did a squeal of excitement both when I found out and when my prize was delivered today!! I also know that other people won as well but I simply do not care!! 


Look at how beautifully they were wrapped - it felt too nice to open...


...But I did... and now all my Real Techniques brushes have their own special home, which, for someone like me who likes everything in it's rightful place, is perfect. 


Thank you Real Techniques! 


Click here for my review of the Stippling Brush! More reviews coming soon! 

xxx