Showing posts with label MAC. Show all posts

Tuesday, 23 October 2012

Favourites #1: Lips

I'm sure we all have a bit of a go to feel good look when it comes to makeup, something that you know will pep up either your mood or your makeup...or preferably both! For me over the past few months it has got to be the lip combo I am about to share with you.  It never fails to put a smile on my face (literally haha) and give me a little bit of confidence.

Please excuse the slight changes in the lighting of the photos in this post, I took some of them over time to try and show you the wear of the product and obviously that changes the amount and angle of the natural light...not a lot I can do about our position in the solar system! 


My weapons of choice are;
  • MAC Lip Pencil in Beet
  • MAC Lipstick in Impassioned (it's an Amplified Creme incase you were wondering)
  • MAC Tinted Lipglass in Pink Lemonade
Without further ado, I give you my step by step application of my favourite fuchsia lips! 

1 - I have to prepare my lips somehow because despite my best efforts they are as dry as the Sahara and at times flakier than puff pastry! I use any old lip balm I've got to hand, and slap it on before I do the rest of my makeup, or about five to ten minutes before if I'm just changing my lip colour not the whole face! 


2 - Using Beet I first line the outside of my lips, making sure I get right into the corners.  Once I'm happy with the shape I use the lip pencil to fill in the majority of my lips.


3 - Then, using a lip brush (my favourite is by Illamasqua) I apply Impassioned lipstick all over the lips.  I sometimes leave it as it is, but if I fancy a bit of extra shine, or my lips are feeling particularly dry I'll add an extra step.  The formulation of this lipstick, especially over the lip pencil means it does have a tendency to feel quite tight and drying on my already parched pout! 


4 - To add that extra sheen and injection of moisture I slick on Pink Lemonade, which has got to be my favourite Lipglass by a mile, and then I'm good to go!! 
As you can see this lip finish looks quite different depending on the lighting...and I love it however it looks!!


The wear of this combination is incredible, you don't need to touch it up all day; and I mean all day.  After six hours of drinking numerous cups of tea, stuffing my face with lunch (and maybe a little millionaire shortbread) and chatting away it puts up a damn good fight and begins to fade (see photo below).  And the fade is something I love about this combo; it doesn't go patchy, it doesn't all vanish at once, but it slowly loses its intensity but at no point does the colour die completely.  After I'd taken the photo below I went to an exercise class and did a flipping hard work out, and even after all the sweating (there was a lot) and wiping my face with a towel (again - quite a bit) the colour remained and took a damn good scrubbing to remove in the shower.

So there you have it, my favourite lip to wear at the moment.  Full reviews of the individual products are to follow if you're interested.  

What is your go to 'feel good' lip combo? I'd love to know so I can try them out and see if they can become my new favourite too! 

I hope you're all well lovely ladies

xxx


Thursday, 4 October 2012

Brush Cleaning #2: Spot Cleaning

In this post I talked about my choices of brush cleanser, and how and why I have chosen to decant them.  This post is on spot cleaning my brushes.  Because it doesn't require the use of water it makes it a much quicker method, so it's great if you need to use that brush again quickly (between colours or clients say) and it's also great for keeping on top of all the dirt and bacteria build up of brushes that will still need a deep cleanse (foundation brushes for example).  If you want to know more about the MAC brush cleanser that I use (price, why I decant it etc) do go and check my first brush cleaning post here.

So, first of all I need all my dirty brushes in one place! I seem to have developed a pretty large brush collection over the past couple of years (oops) so I don't store them all together, instead I get a selection that will do the job and put them all in this old (and cracked) Cath Kidston mug which lives in the bathroom which is wear I do my makeup.  Then, once they're in need of a bit of a clean (this tends to be once a week) I bring them all into my room to get down to business!

Because this is spot cleaning if there is one eye brush I'm particularly desperate to use but it's already covered in eye shadow I can get it back to working condition in a matter of minutes (particularly synthetic brushes) which is perfect! 

A selection of brushes all ready for a good old clean!

There are many different ways to spot clean your brushes, and if you'd like me to let you know some of the alternative methods please do let me know and I'll either explain to you personally or write another post.  To save this from being uber long I'm just going to focus on one technique for now.

I use an old towel to clean my brushes on, but you could use kitchen roll (I'd advice against toilet roll as it just isn't strong enough), couch roll if you have it (beauticians etc), an old flannel or muslin cloth, an old t-shirt or a bit of old sheet - you get the drift; it can be anything!  I simply place this on my work surface of choice and get ready for cleaning.


Place your brush on the towel or hold it slightly above, and then spray your cleanser onto the bristles.  You can turn the brush over if it is particularly dirty to ensure you've coated both sides.


Then, simple swirl your brush around on the towel.  Be very gentle with this, you don't want to end up scrubbing away at it, just use soft circular motions or gently sweep it one way and then the other in a line.

You can repeat the process if you need to, simply apply more product and gently wipe it over a clean section of the towel.  At the end of the process you should be able to wipe it over without leaving any makeup residue behind.


Once they're all squeaky clean you can either simply lay them flat on the towel, or place the towel near the edge of the surface and place it so the bristles are sticking just over, this prevents the brush from becoming misshapen as it dries.

Smaller brushes tend to dry in a matter of minutes using this method because they do not become too saturated in cleaning product, and the alcohol evaporates quickly, but do make sure your brushes are completely dry before you either put them back in their home (mug etc) or use them again. 

So there you have it, my spot cleaning process.  If you have any questions feel free to ask.
Next up - the deep clean!!


Happy Brush Cleaning!!
xxx


Tuesday, 25 September 2012

Brush Cleaning #1 - Making life easy for yourself


Cleaning your makeup brushes is essential if you want to look after your brushes, care for your skin, and get the best from your makeup.  That said, it's a bit of a chore and although I find it therapeutic and love the feeling of looking at all your clean brushes drying, it's still sometimes just something I'd rather not have to do!

But, if we've got to do it, and honestly, we really do, then I like to make it as easy as possible.  

Friday, 31 August 2012

MAC Painterly Paint Pot: Review


For £14.50 I was initially a bit disappointed with this product.  I don't know what I really expected, I knew it wasn't going to be anything exceptional to look at, but opening this product to see a bland paste play dough/putty kind of thing made me feel a bit *meh*. It may not look like a star product but believe you me, it's superb!

I own Urban Decay's Primer Potion, and nice as it is (and it is great), it does sometimes go a bit weird where it meets my foundation at the very edge of my eye (which seems impossible to budge).  Painterly on the other hand, applies really easily; I just pat it on with my ring finger, and then I slap my eye shadow on! It gets rid of the horrible red that rims my eyes, and it makes applying eyeshadow an absolute dream; the colour of the shadows appears intensified and your eyelids become the smoothest canvas to apply product.


Worn alone, this Paint Pot can be used to just even out the eyelid.  For me personally, this is a nice extra step when I just want to wear eyeliner and mascara, or mascara on it's own (this is very often) because the discolouration is taken away and it makes the liner/mascara stand out more. 


I've found that the best way to store Paint Pots is lid down, as this helps to prevent the product from drying out.  It's also very important to make sure the lid is securely fastened because you don't want any of that moisture escaping, and if you're using this for a long period of time (on a shoot for example) then just put it face down on a clean table top in between uses for the same reason.

What are your favourite eye shadow primers? Or are you lucky enough to get away without needing it?

xxx

Saturday, 25 August 2012

MAC Supernova

This is a classic tale of love at first sight.  As soon as I lay eyes on the rich glittery magenta with a swirl of burnt bronzy gold I knew we'd get on just fine, and let me tell you, this little beauty does not disappoint.


Thursday, 23 August 2012

Ok, I caved! MAC haul!


So, the spending ban, anyone remember that? No, clearly I didn't either! In my defense *lame excuse coming up - wouldn't hold up in a court of law* I see this more as a reward after a stressful day, and a present from myself for completing another step on the new path my life is taking...told you it was lame! Basically, I was in Brighton finalising some stuff with college and I actually felt pretty excited and proud of myself, and the sun was shining and I must have got lost because I mysteriously found myself in the MAC shop! As ever, I went in with my eye on one thing Supernova from the Heavenly Creature collection and came out with an additional six products...how does this happen (I blame the really lovely MUA who was helping me!)?!

Here is a round up of what I got...

  • Supernova Mineralize Blush (Heavenly Creatures Colour collection)
  • Russian Red lipstick 
  • Redd lip pencil (obviously needed it to compliment Russian Red)
  • Spiked eye brow pencil
  • Mineralize Skinfinish Natural in Medium Plus to try to take the vile shine away
  • Mineralize Eye Shadow in Earthly (Heavenly Creatures Eyes collection)
  • 263 angled brush, the synthetic cousin if you will of the 266 
Yes, I went crazy.  I'm sorry.

If you want I'm going to do full reviews and swatchy swatches of each product in the near future?! 

x

Thursday, 21 June 2012

Stars N' Rockets


The weather has been so foul recently, and all my friends are away, so I decided to spend my time practicing dramatic makeup - because who doesn't need this type of look to eat dinner and watch tv with their parents!?!

Tuesday, 22 May 2012

Oops I went to MAC.

After watching Amarixe do a tutorial with MAC Stars & Rockets, which you can see here, I knew I needed to get my hands on this gorgeous shade. It is just such a gorgeous shimmery pinky mauve with a slightly bluey silver sheen, and it is just so pretty.  I've included photos in natural sunlight and also with the flash on so you can see how the colour translates.


It most certainly lives up to its name! 


This particular trip to MAC also saw my first dip into the Pro Palette ocean, and boy oh boy was that probably a mistake because now all I want to do is fill it! 


Amerixe uses Cornflower pigment to add depth to Stars & Rockets, but I didn't fancy getting a pigment so I went for Freshwater instead, which I think will compliment it fantastically, and is just a beautiful stand alone colour anyway! 

The pigmentation of these eyeshadows really is incredible, this is the colour pay-off with just one sweep of my finger so you can only imagine how amazing it could look if you really packed it on to the lid. 

I wanted this in the pan so I could add it to my palette, but they didn't have it in stock so I had to go for it like this.  I should have waited but I just couldn't help myself! 


In natural daylight it looks so fresh! 

The next purchase was from the Reel Sexy collection, and it is the The Dynamic Duo 3.  On the left we have Pearled Earth which is a gorgeous shimmery grey which MAC describe as a 'dirty-toned purple', which has a hint of warmth which I really like.  I have also found it really morphs into different colours in certain lights which I think helps to make it a really wearable colour.  On the right is a limited edition colour, Teal, this is a matte colour which means it is the perfect partner to the frosty Pearled Earth. When I bought this duo the lovely makeup artist at MAC used Pearled Earth all over my lid and then ran a shot of Teal along my lower lash line, and it looked gorgeous and was so simple to do.  I can't wait to try them out properly! 


Swatcharoos in natural sunlight


I then picked up something that is essential for me, I have very unruly brows and thought it was about time I brought them in to line (literally) once and for all! I got the Clear Brow Set because I use a pencil or powder to add definition to my brows anyway so I don't need a coloured gel. 


And finally I picked up a short handled 129 Blush Brush, which I've been wanting for ages.  I went for the short handle mainly because it came in a re-sealable pouch that would make it ideal for traveling but in all honesty I wish I'd gone for the regular length handle because I never take brushes out and about with me and if I am going somewhere I take my brush roll with me anyway...I'm a moron I know! 


I'm sorry this is just a photo heavy post but I hope you can enjoy the visuals as much as I'll enjoy using the products. 

I'll do full reviews and show you how I'm wearing the colours and how I'm getting on with the products once I've given them a fair try! 


Have you got anything from the Reel Sexy collection? What is your favourite eyeshadow duo? 


xxx

Sunday, 6 May 2012

Naked Palette. Big Love.

In my manic rampage of beauty counters this week I purchased the Urban Decay Naked Palette.  I can't have spent longer than 30 seconds at the counter, I probably spend longer choosing a bunch of bananas (in fact I definitely spend longer choosing bananas because it's tricky to get the perfect bunch, but that's another story!). 


Other than on nights out (which are pretty rare these days) I'm quite unadventurous as far as my eye make up goes, usually I slick on some eyeliner (L'Oreal Super Liner in Carbon Gloss) and some mascara and I'm good to go but I really want to change this and I thought the Naked palette would be the perfect way to do this.  It provides a good range of neutrals (mostly shimmery ones but there are a couple of matte colours) and they are all there for you to choose from which I like as I hate rooting around in my make up bag because I always forget I have certain colours. 


Virgin is a really delicate slightly peachy vanilla.  These shadows are so finely milled that it feels like applying silk. This shade gives a subtle sheen as I think it makes for a beautiful highlight, base colour or works amazingly in the tear duct to really brighten the eyes.


Sin is a rich shimmery rose gold.  It's just a beautiful colour!! Worn alone I think this is the perfect subtle summer shimmer!  


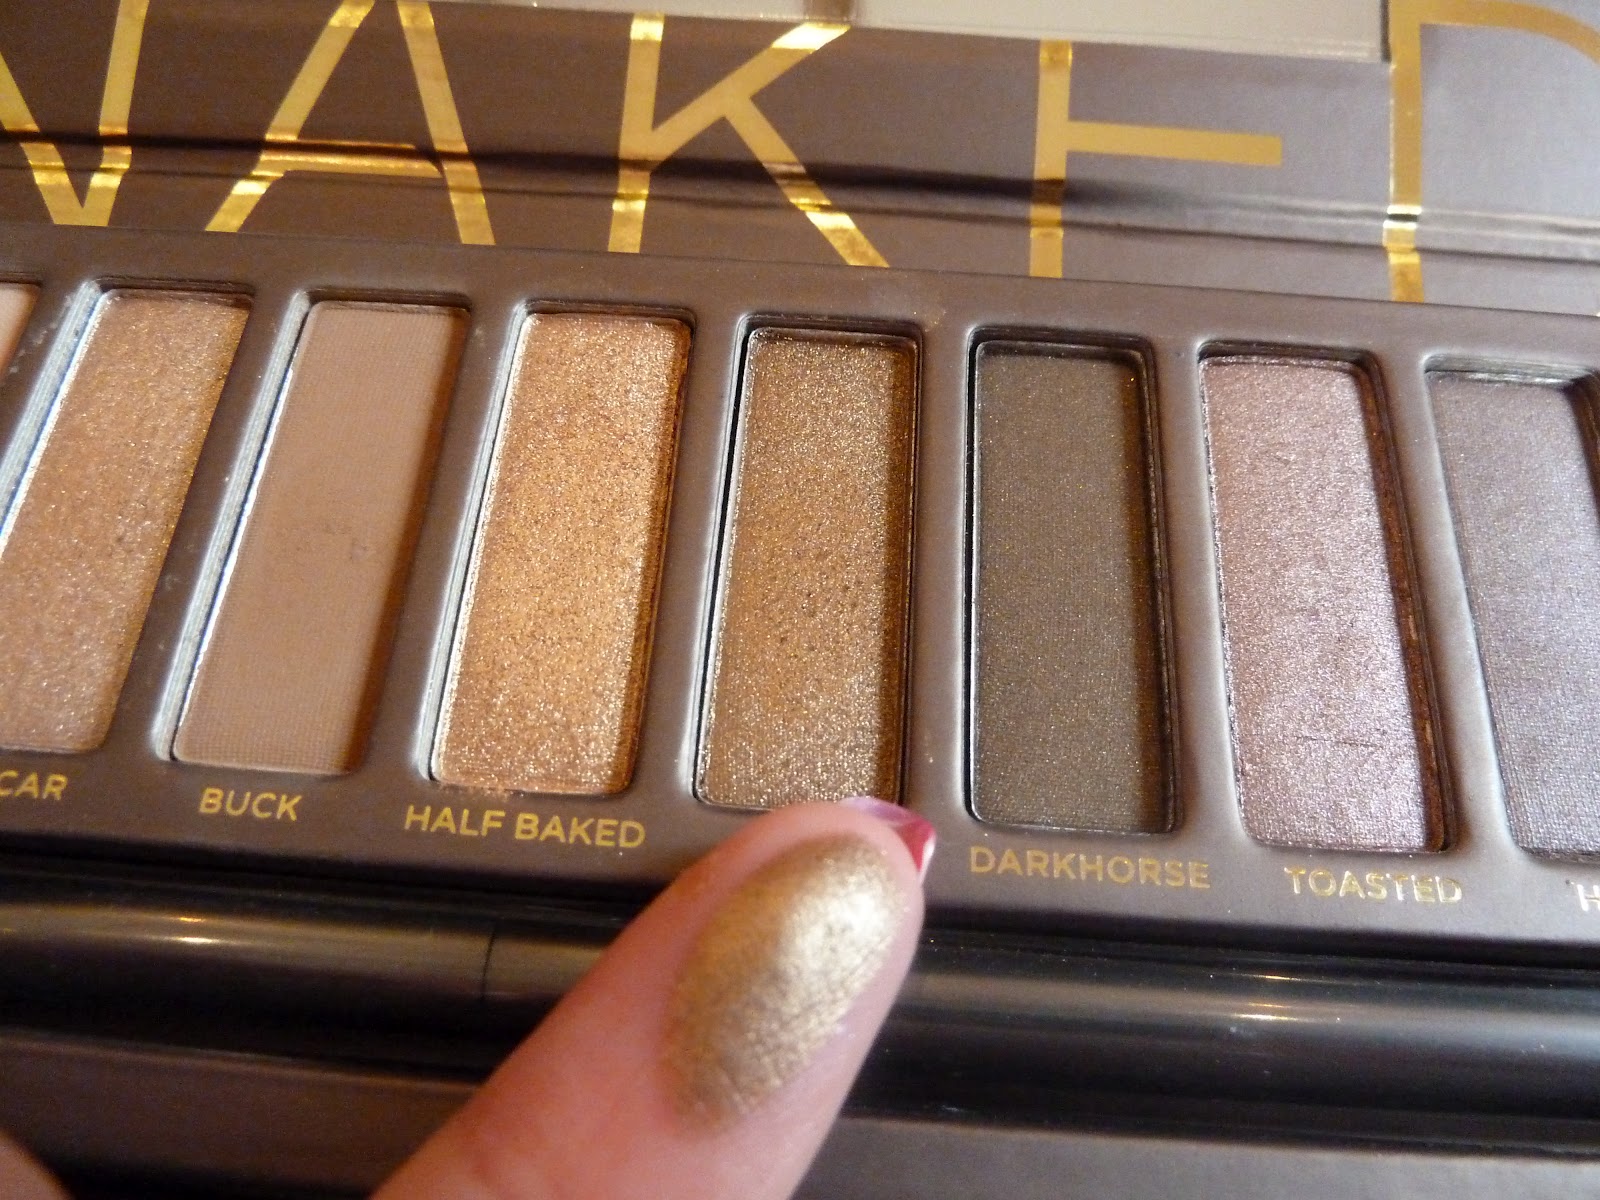
Naked (sorry my fat finger is covering the name), is a simple matte base colour, it can be used to create a lovely base for other colours or to soften the insensity of other more vibrant colours (Stars N Rockets for example).


Sidecar is a warm toned pinky gold, and it's just beautiful.  End of. I've used this over the inner half of my eyes in the images at the bottom of this post. 


Buck is a warm tan colour, a soft brown if you will, and can be used to add definition in the crease for a sophisticated simply day look or to add definition and depth to basically any other shadow! 


Half Baked.  What a colour! This is just a beautiful gold with a slightly bronze tone running through it! Applied to the tear duct, this colour will just make your eyes look incredible! 


Smog is, as the name suggests, a bit of a dirty goldy with a bit of a rusty edge to it. Like the other true shimmers in this palette it is just so finely milled and highly pigmented, and the colour pay off is so full and luxurious.


Darkhorse has a really subdued shimmer to it that is only picked up in certain lights and it creates a pretty good seductive smouldering look (get my trying to be sexy!)


Toasted is a shimmery pinky brown.  I love it.  This is used in the middle of my eye in the look at the bottom of this post. 


Hustle is a purply brown, and is the third colour I used on my eyes in the photos featured at the end of this post! 


Creep is a deep grey shot through with silver glitter.  The colour can be used boldly to create the intense colour shown in the swatch above, or it can be blended right out to give quite a sheer coverage, and therefore it's really versatile. 


And last but not least, Gunmetal is a gorgeous pewter shimmer.

The photos below are of my first ever time using my Naked palette, and I'm pleased as punch! I used Tanya Burr's tutorial  which you can view here as my instruction, and obviously mine is nowhere near Tanya's (mainly because I screwed up my eyeliner big time) but I'm hoping with practice it'll improve! 


Products - Eyes
Urban Decay Primer Potion (comes with the palette) all over the lid
Using a 217 apply Sidecar to the inner half, right into the inner corner
On a 239 pack Toasted onto the centre section of the lid
On the other side of the 239 combine Toasted and Hustle and draw that out from the lash line to create the wing, then pack more Hustle in the outer corner to create depth
Then using the leftover product on the 239 draw the shadow under the eye.
Use a 217 or another fluffy brush to blend all the colours and soften the edges
I used Sin as a brow highlight
I then used L'Oreal Gel Intenza to line the water line, my upper lash line and to create a wing
Finally lashings of L'Oreal Telescopic mascara adds great definition
On my brows - No. 7 Perfect Brows pencil in Black


Products - Face
Benefit Erase Paste in Medium
Mac Pro Longwear in NW20 and NC25
Mac Studio Sculpt in NW25
Mac Magically Cool Liquid Powder in Truth & Light
Nars bronzer in Laguna
Mac blush in Plum Foolery
Benefit Highbeam to highlight

Lips
Clarins Joli Rouge Brilliant Perfect Shine lipstick in 06 Fig


If you have made it to the end of this blog post then thank you so much, and congratulations, it's a bit of a mammoth post!! 

The Urban Decay Naked palette is available here or at a zillion other places either on-line or at Urban Decay counters in Debenhams etc


What are your feelings on the Naked palette? What are your favourite looks to create using it? 
If you'd like me to provide links to the other products just ask in the comments and I will willingly do so :) 

As always the beautiful back drop to my product shots is by Gabrielle Vary, she makes incredible luxury knit-ware items which are available here

xxx

Tuesday, 1 May 2012

123 Perfect


I know this might seem awful, but it has been YEARS since I bought a 'low end' foundation, and even this at £10.99 isn't cheap (although I did take full advantage of the 3 for 2 across all beauty that Boots were running last month!) 

I had heard everyone raving about the Healthy Mix range by Bourjois so I thought, for some deluded reason, to go for this instead (probably because it was new and put at the front, and like a magpie to a broach, I couldn't resist), but then I read Fleur's review on it, and I was literally too scared to try it.  All she'd said was that she didn't like it, it's not like it was going to make my face to melt away anything, but anyway I put it off and put it off, but now I've faced my fear and wore it, and you know what, I like it!! It just serves as a lesson to me not to believe everything I read as if it's the holy grail, it's just personal preference, and everyone is different! 

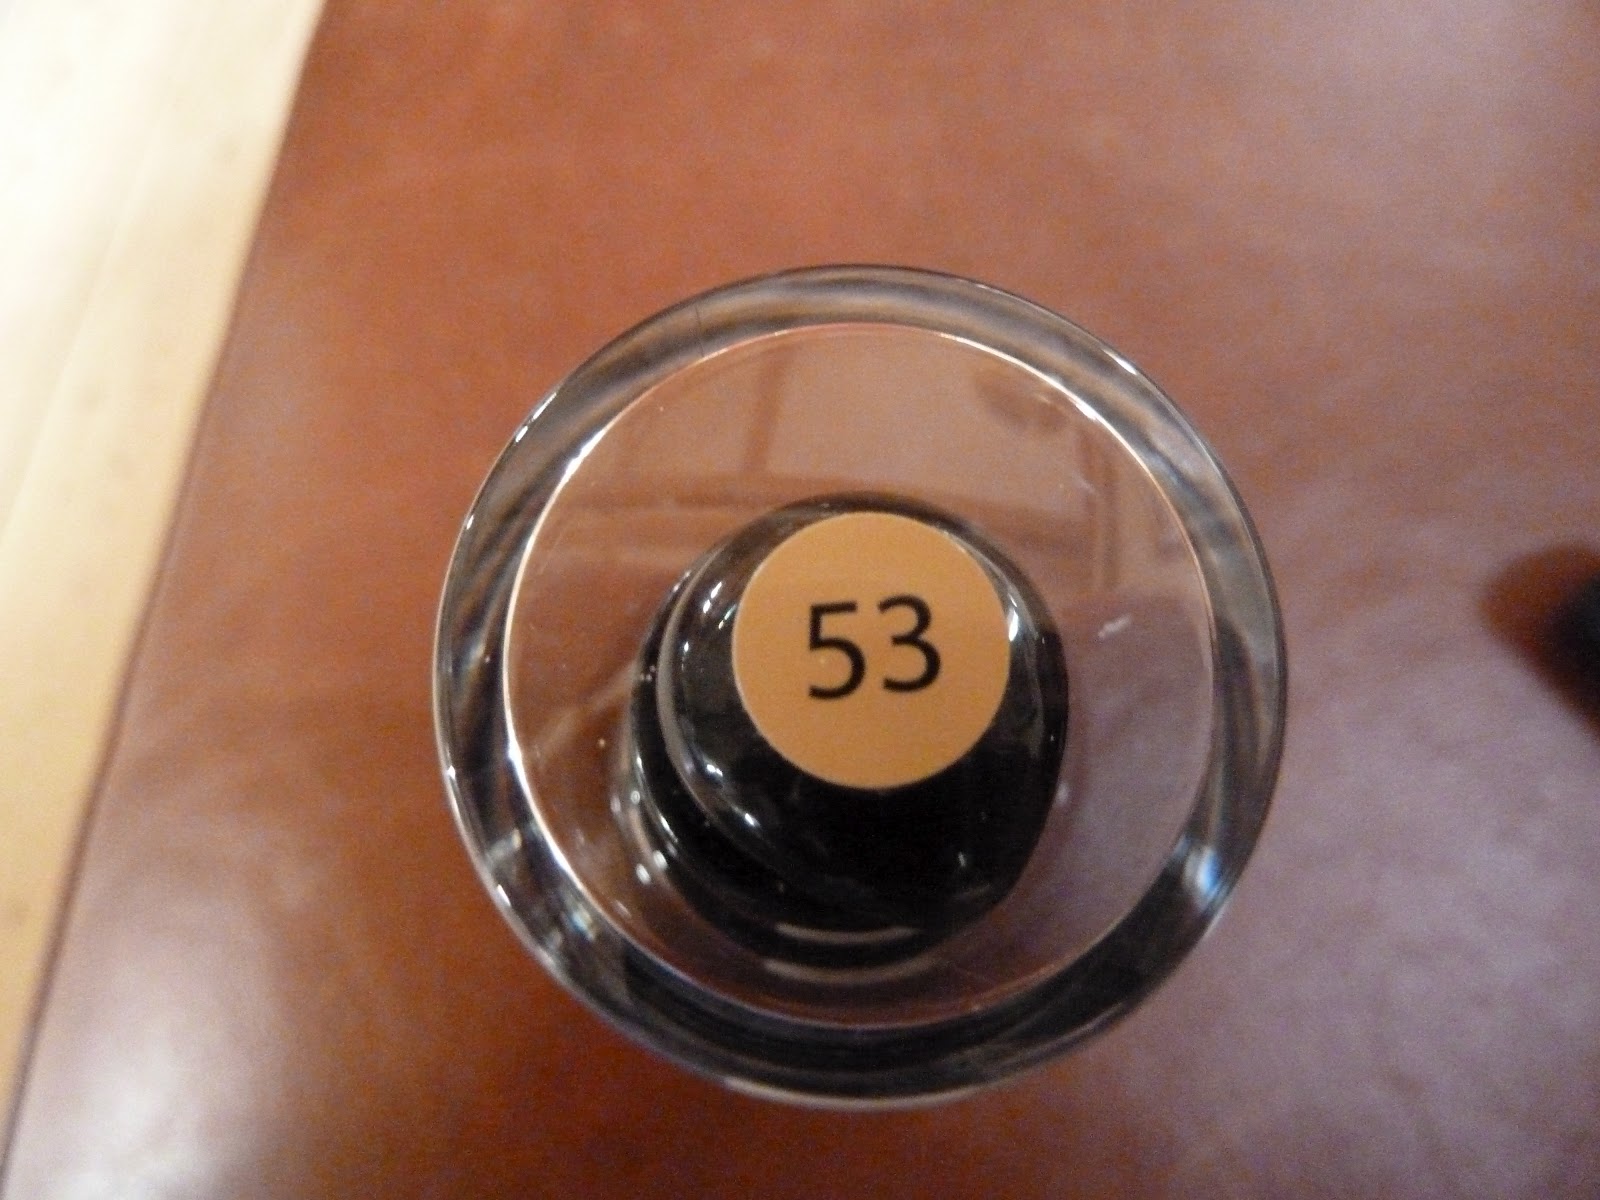
On to my thoughts about the foundation itself.  It glides on so smoothly, it really is so lightweight and makes my skin feel really soft (which I think we'd all agree has got to be a good thing).  This colour, 53, blends really well into my skin tone, it really does look as if I'm not wearing foundation.  As for the three different pigments working their magic to reduce circles around the eyes, brighten complexion and reduce redness, I'm not so sure, but then the dark circles under my eyes resist every product I throw at them, so I wasn't shocked that this failed to do the trick! 

I'd say that on the most part it wears well, although my t-zone needed to be touched up after a few hours as the make up seemed to have slipped, so I don't think, for me anyway, I'll be getting the 16 hours of wear it claims...what a shocker!  It does wear off a lot quicker than my Mac Pro Longwear for instance, but if you're not planning to wear it for a long day then I don't think you'd have too much of a problem.

I have found that on my chin (a problem area for me, with drying breakouts) this foundation looks a bit flaky, but then even my MAC foundation sometimes does so that's not a big disappointment either. 

Overall, I'm pleased I bought it, it's nice to have something that feels more lightweight than my usual MAC Pro Longwear. I'm a happy shopper with this one! 

Have you tried either 123 Perfect, or Pro Longwear? If you have, what do you think? And if not, what's your favourite foundation? 


xxx